Recently I’ve been playing around a with Node.js a Raspberry Pi and Azure (more on that in the next blog post).
Since all my VMs have been around a while, they are in ASM mode and not ARM mode, so I was using azure-asm-compute module for Node.js. However, this module uses certificates to authenticate you to the service, and not Azure AD. A little frustrated with that aspect, but that’s another story. The purpose of this blog post it how to set up those certificates. I struggled with this for quite a while and couldn’t find any good documentation on how to accomplish it.
According to the documentation, there are two ways to do this:
- Upload your own certificate – I couldn’t get this method working
- Use Azure CLI – This worked, but took me a while to find the correct steps. So I’ll walk through this method below.
Using Azure CLI to create a certificate to authenticate with Azure Compute
- Install the Azure CLI tools. I’m on a Mac, have Node.js and NPM installed and running, so this was just a simple matter of running:
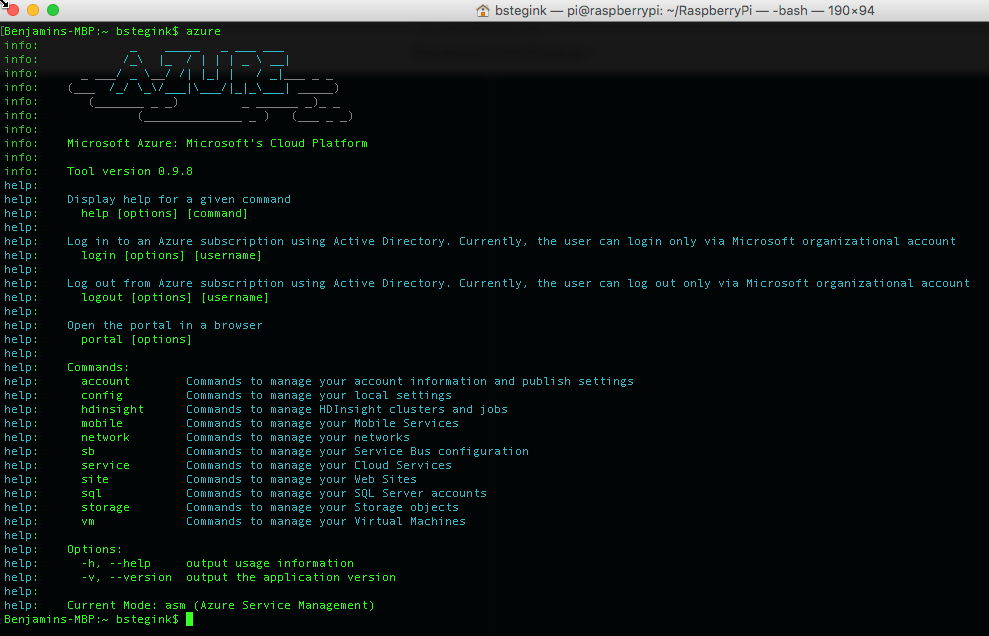
npm instal -g azure-cli - To view help and some of the commands, in your Terminal Windows just type
Azure
- Log in to Azure with
azure loginit will prompt you to enter a username and password in the terminal window.
- If you want to view a list of all your accounts and view the currently active one, type
azure account list
- Select the appropriate subscription with
azure account set [your account name]
- Next, make sure you are logged into the still non-preview Azure Portal with these same account you’re using with Azure CLI

- Back in the terminal, use
azure account downloadto download the publishing files
- You’ll be promoted to save a file from your browser. Don’t freak out if the default file name starts with one of your other subscriptions. In my case, the filename actually contained ALL of my subscription names.

- Next run
azure account import [path to publishing file]…I know…you just downloaded it from Azure, and now you have to re-upload/import it…but trust me, this will work.
- Run the command
azure account cert export. Yes, now you re-downloading something again 🙂 This time however, you’ll noticed it’s a .pem cert file, that should have a GUID for a file name that matches the subscription you set back in step 5.
- Finally, everything is in place to be able to use certificates to authenticate to Azure Compute! If you check the location you were in when you ran the export command in step 11, you should see your .pem file.

- The last piece of the puzzle is just to plug in your subscription ID and the path to your .pem file in your code for use with the azure-asm-compute module. In my case I use a .json file for all my parameters/settings. Just a disclaimer, keep this .pem file your subscription ID safe. If anyone gets their hands on both of them they’ll be able to gain access to your compute resources in Azure!

Hope this helps save someone some time!

